I was honored to speak at last nights “Mamas with Cameras” photo club gathering. I was so impressed with these Mamas. More than half have children under two and several with newborns yet they are able to take time for themselves, simultaneously cultivating their creative passion for photography. This caring sisterhood shared ideas and encouraged each other, all while feeding that female-need I know all about for socializing and making new friends. I’m inspired by these motivated mama’s passion.
Whether a “Mama” or not, send me your best work illustrating “Catch-light” by Monday Aug 3. I’ll post them here. I’m hoping the Mamas had a chance to use natural light, the utility lamp, the white sheet, and reflective light for your catch-lights. I obviously ran out of time to show each of these on the camera. Hopefully my flinging around the sheets, shaking the tinsel, using the hand-held mirror, and pointing out the amazing advantage of wearing white helped inspire at least one of you to put these methods to use.
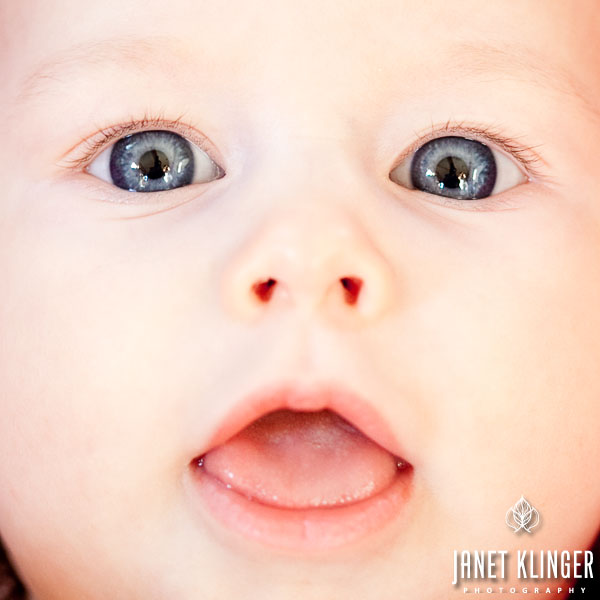
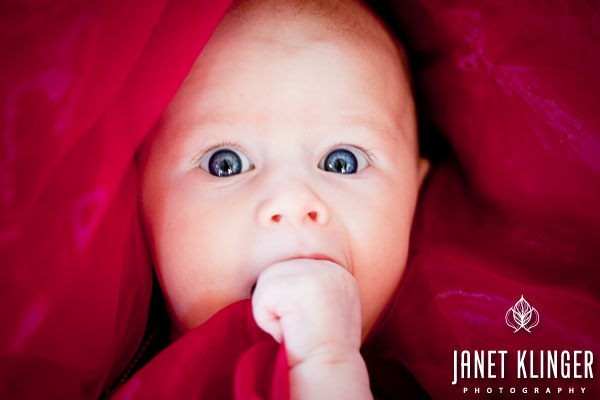
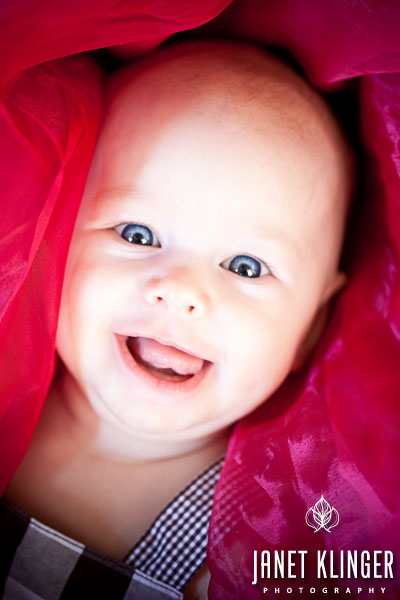
Here are a few of the images I shot of a members 3 month old illustrating our upcoming assignment. Thanks to our great, smiley model, Lauren!
See the full assignment below the photographs: “Starry Eyed. Capturing the Catch-light with Heart.”
Tech data for all images:
Canon 5D Mark II
Canon 100mm Macro f/2.8
ISO 1250
f/2.8
1/60 sec (You can see a bit of motion in several images.)

This catch light shows 3 reflective light sources and one strong color source: the window itself, a photographer in light clothing, bounce from camera right from a white sheet on back of a couch. There was too much warmth reflected from the floor, so I desaturated some of the orange cast in local areas.


Catchlight - Mommas with Cameras

Catchlight - Mommas with Cameras

Catchlight - Mommas with Cameras
Ron Henry, owner of Studio R in Fremont, is of generous heart. He made his great studio available to the Mommas at no charge for this event. Hugs Ron.
Here is the entire assignment for August.
Assignment:
“Starry eyed”, Capturing the Catch-light with heart.
GOALS
1) Experience the benefits of preplanning a photo session to enhance creative freedom. The ultimate goal of preplanning is to become confident you can overcome any spontaneous change in plans. With tools in place you are free to concentrate on your model. Enjoy the luxury of capturing spontaneous moments in time.
2) Develop techniques for creating a catch-light in a subject’s eye(s).
II) PREPLAN THE TYPE OF SESSION
Preplanning will dramatically increase your image success rate. Believe it or not, preplanning makes for much more spontaneous images because there are quick alternative spots, light sources, angles, available if necessary. (Note: spontaneous, grab-the-shot ideas will be presented later, but experience preplanning will help any type of
To begin, consider your preferred model and what you want to illustrate.
BABY: the way he makes a mess when eating bananas, the laugh at a special song, puckering up sad lips when you change his outfit, teething on her bathtub toy.
CHILD: picking garden vegetables, swimming in your blowup pool, reading on the window seat, studying a puzzle.
GROWING: wearing a special outfit (dress-up, glamorous, grandpas fishing hat), with a first bike, car, favorite spot in the home or garden.
ROMANTIC INTEREST: Lounging in a cozy chair, reading on the bed, partially buttoned up (or down!).
III) PREPARING FOR SUCCESS
Plan for a relaxed time of day when your subject is likely to have all needs met.
Limit yourself to one model for a few sessions while you build confidence.
A) Choose a space with lots of light. Enhance the main light if necessary. Have alternate light sources readily available such as lamps, mirrors, white sheet, foam core, your white clothing, flash unit, and utility lights handy.
B) Depending on how natural or “studio” you want the result, tidy up, or with small kids, drape a couch with a simple white sheet trailing on the floor, or leave it natural: messy, modern or otherwise. (I did “studio” with my newborn, natural with my 5 year old.)
C) Have a few inspiring items on hand, most importantly the items listed in #1 such as bananas, music, clothes, etc.
IV) RESEARCH
Begin noticing light’s effect on possible locations, especially your own home. Which windows steam light in the morning, midday, or evening? If you have a favorite location, what time of day and year is it best-lit? North light, because it is even and less directional (fewer shadows), provides the easiest light source for moving baby targets.
V) PHOTOGRAPHING
When all the above is in place, photograph your subject with 3 different sources of catch-light as listed above. No need to have the subject look at you in every image, but you should attempt to include the eyes in each image whether or not you see the catch-light. This helps you see the benefit or not of the catch-light.
Hints:
1) To have a child look at the camera, It helps to have another person attract the models attention. Kids respond to faces. (Your face is hidden behind the camera.)
2) As a general rule, meter on the subjects skin (or your own hand if in the same light as the model) then overexpose one stop, or use something white (a wall?) to meter on and overexpose by 2 stops.
3) If you know how to use your camera’s histogram, check it each time you change your lighting.
4) If you use a flash for catch-light but prefer a natural light look, set the flash to underexpose by two stops, but shoot at your camera’s natural light setting.
5) For best color balance, take a shot of a “photo target” (a neutral card with a true white, sometimes gray and black too.) each time you change lighting. You can use these images for easy white balance your images in post processing. Many more advanced cameras make this unnecessary. You’ll know it’s necessary to use a photo target when you can’t color balance your images using the white balance setting in your editing program.
6) Have on hand extras attention getters for toddlers: bells, squeaky toys, clown nose, Elmo Hat, feathers or boa, silk scarf. Stay away from “His/Her toy” as you’ll have a hard time removing it. As if you didn’t know!
7) Music can be a huge motivator for kids to stay present.
8) Dress in light clothes and be amazed at how your outfit “fills” the subject’s eyes with catch-light. Play with a hand held mirror as a sun reflector. (Use CAUTION with small children. Mirrors are a harsh, bright light source best used 6 or more feet from a child’s eyes.)
VI) RESULTS
Ideally you will finish the assignment with the following:
6 images total
At least 3 will show a clear catch-light IN the eye from 3 different light sources. Note the sources of catch-light.
The other 3 may be of eyes looking down or any perspective without the catch-light visible, but still with lighting that would have provided a catch-light had the subject’s eyes been visible.
What is the overall effect or mood of including a catch-light?
VII) SUGGESTION FOR FURTHER PLAY
You may choose to try the exact opposite, keeping any light from reaching the eyes. Moody or dramatic is often the effect of such lighting. Perhaps a future assignment…

Michael Good - Janet – Great pictures in your usual great style!!
JanetKlinger - Hi Michael,
You “Best of Seattle Bride” photographer, you. Hugs fella. You deserve the recognition. Thanks for taking time to say hello. So when do we get to share some red wine again?
Jacques Denis - Thank from Belgium
for the pictures of our grand niece
September Meeting - new location, and some other fun links! | Mamas With Cameras - […] too. If you need to check the details on the assignment, see the meeting wrap up for Me Ra, and here for Janet’s catchlight […]